Quick Start Demo
Deploy your first web server on HyperAI with a few simple steps.
Open the IDE at ide.hyperai.di.uoa.gr and follow along.
Step 0 — Publish your image to a whitelisted registry
Before deploying, your container must live in a public registry whitelisted by HyperAI — for example Docker Hub. You'll reference it in Step 3 when building your Application Profile.
Build the image locally:
Push it to the registry:
Further reading
Follow the official Docker Hub quickstart for more information.
Step 1 — Sign in
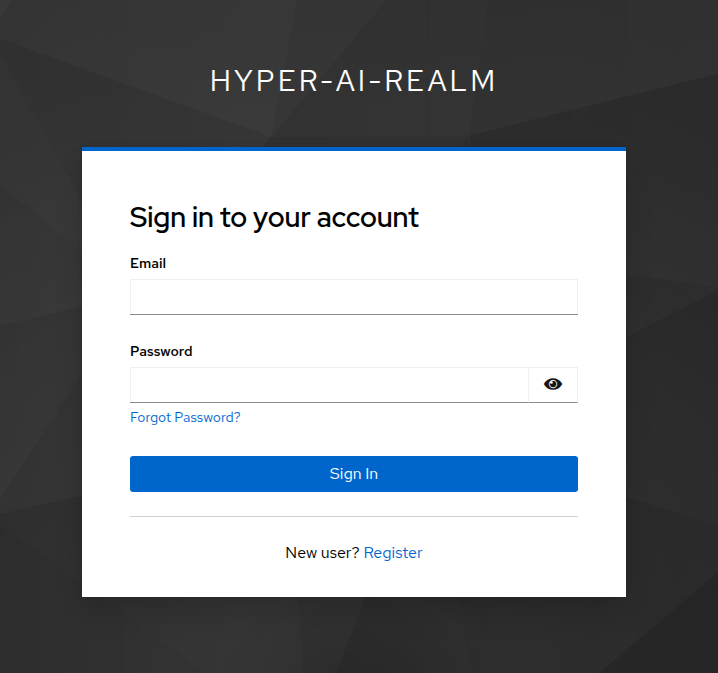
When you open the IDE you are redirected to the HyperAI sign-in page. Enter your email and password and click Sign In.
If you don't have an account yet, click Register and create one first.
Step 2 — Create a working directory for your app
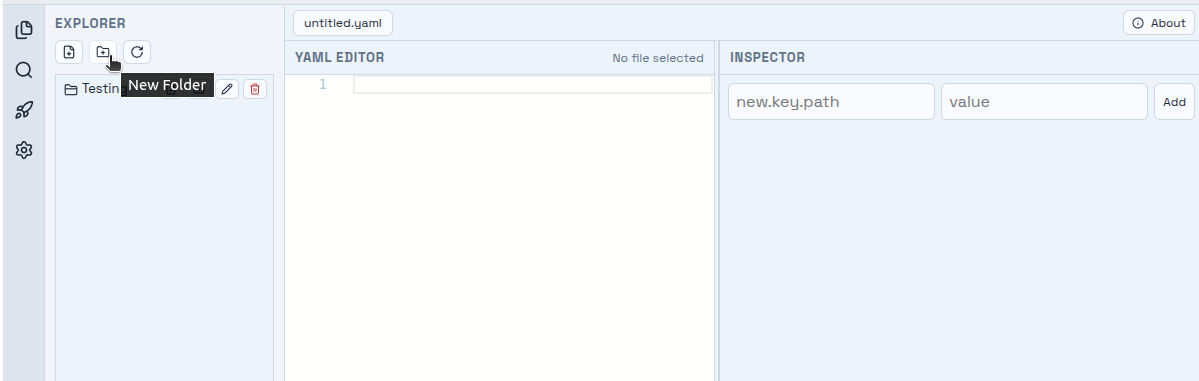
You can create a working directory for organizing your app, or group of apps. This is done through the Workspace Explorer by clicking Create Folder.
Step 3 — Create your Application Profile .yaml
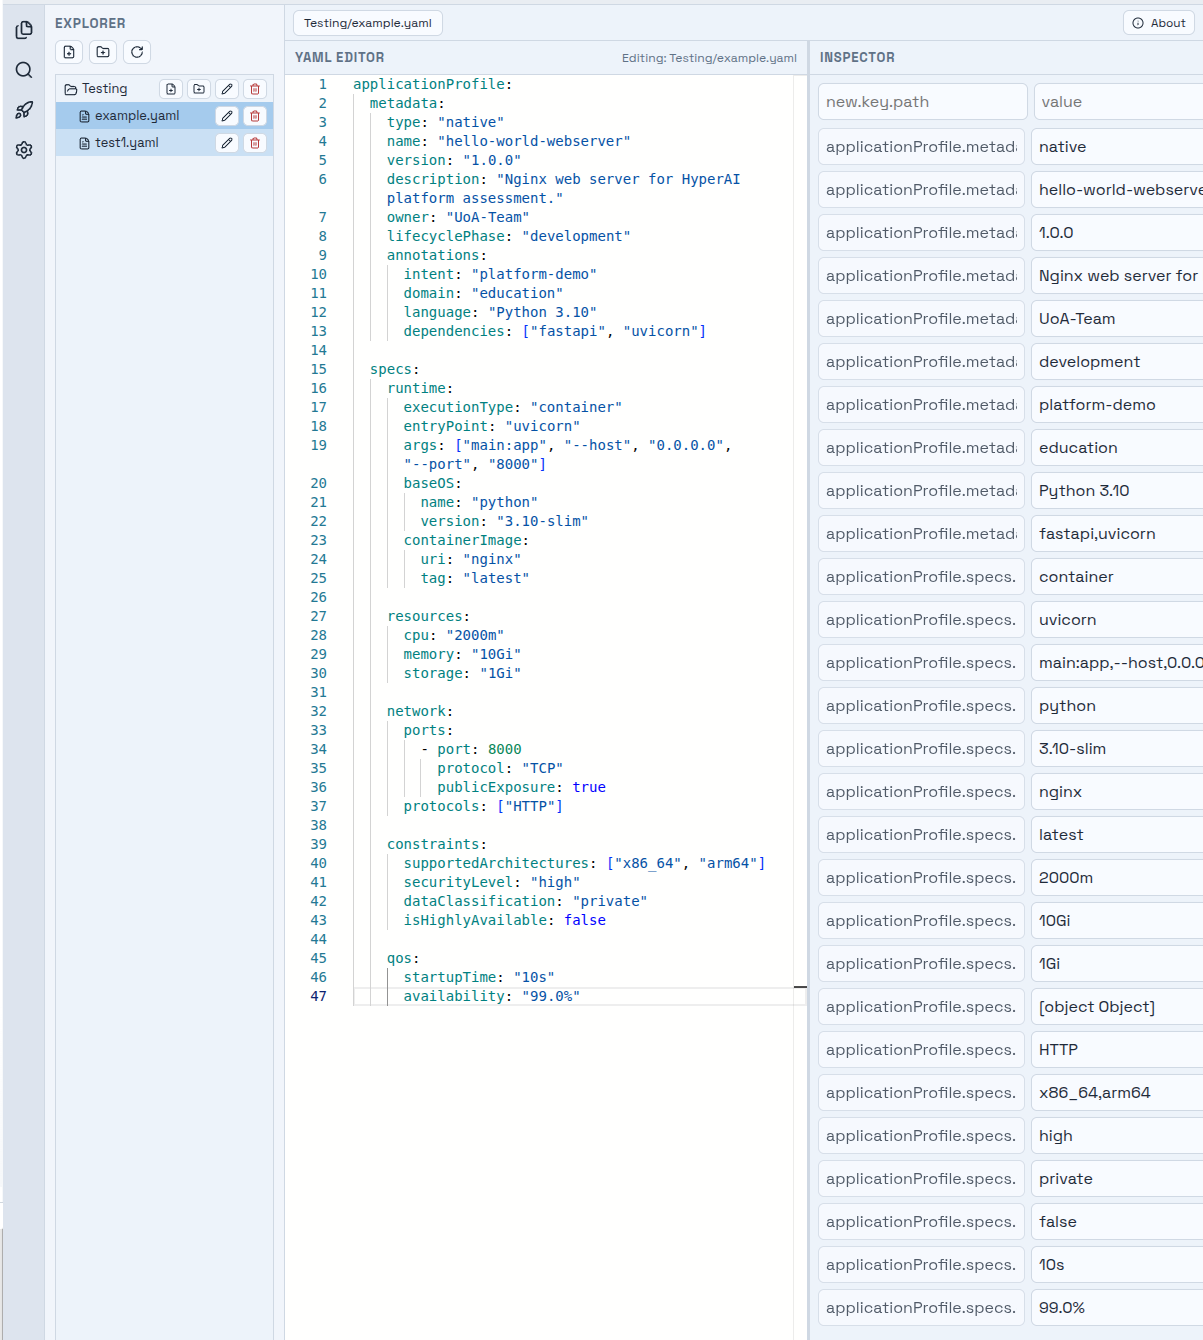
After creating the working directory, the application profile .yaml document must be created. Application profiles contain all the attributes of the app the user wants to run. Again this is done through the Workspace Explorer by clicking Create File. Name the file accordingly and add .yaml at the end.
To build the profile, consult the DSL Specification: Native Apps for native applications, or Device Apps for applications meant to run on a device. You can also find ready-to-use examples in the Cookbook & Examples. This is where you reference the container image you pushed in Step 0.
Step 4 — Deployment
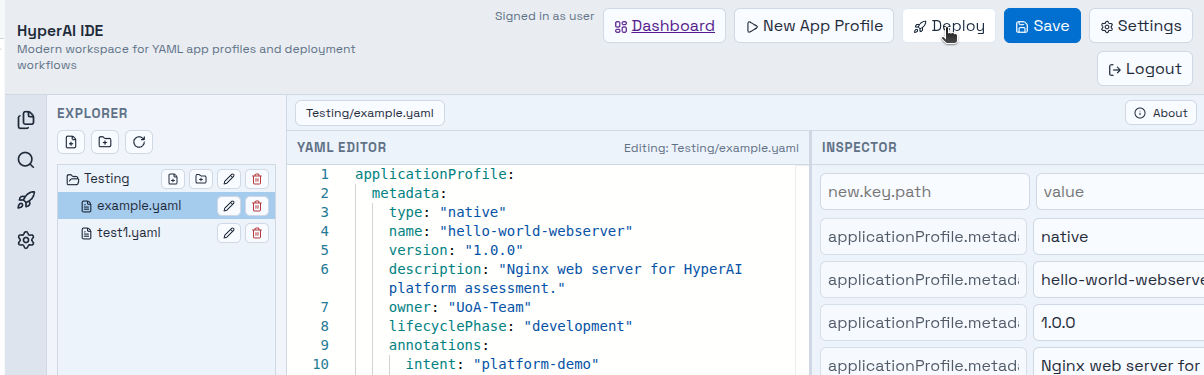
When you are ready, click the Deploy button. Before this step, make sure each profile has been saved.
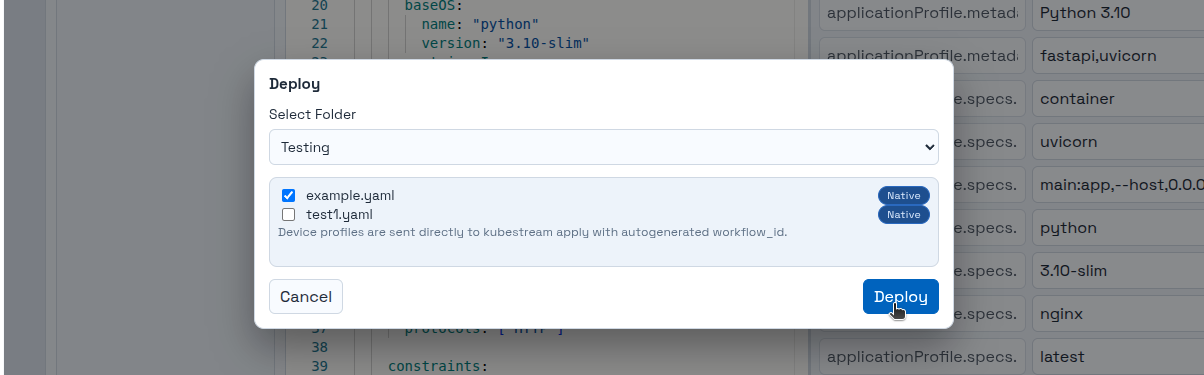
In the popup window, select the workflow you want to deploy and click Deploy. Multiple profiles can be deployed at the same time.
You will be asked to manually change the workflow name — if you don't want to, just skip it by clicking OK.
Step 5 — Start your workflows
If you haven't received an error message, click the Dashboard. In the list of deployments, find the one you just deployed and press Start.

This may take some time until the workflow status is Running.
Tips
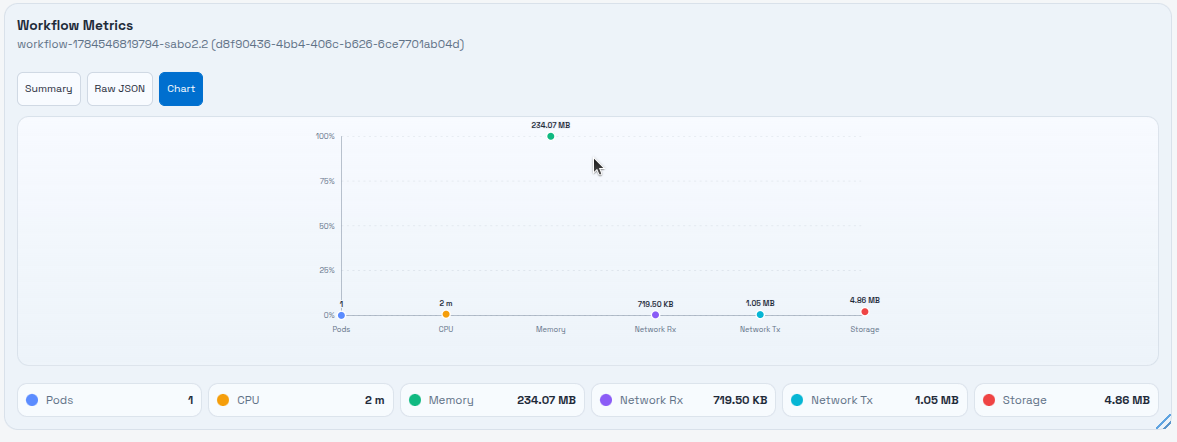
If you want to see live analytics of your workflow, click the Metrics button.